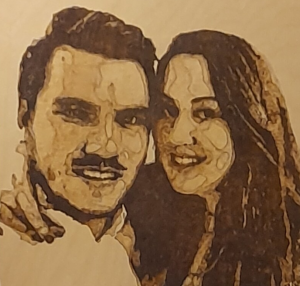
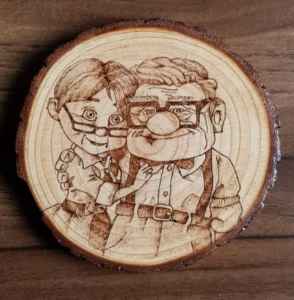
History of Pyrography
Pyrography dates back to the heyday of many of the world’s great civilisations……The Egyptians, The Greeks, The Romans, The Nazca and Moche civilisations in Peru and the Han dynasty in China, where it was known as ‘fire needle embroidery’.
The word pyrography originates from the Greek meaning ‘writing with fire’.
Less advanced cultures, like the Maoris in New Zealand, also practiced primitive forms of pyrography. All they needed was a piece of wood, metal rods of various sizes and a source of fire.
Getting Started
Safety
For your personal safety you should follow these guidelines…..
Ventilation: Work in a well-ventilated area. The burning process can release fumes, so having good airflow is crucial.
Protective Gear: Wear safety glasses to shield your eyes from any flying debris. If you’re sensitive to fumes, consider using a mask with a rating of P-95 or higher.
Workspace: Keep your workspace clutter-free and organized to prevent accidents. Ensure that flammable materials are away from your work area.
Temperature Control: Be mindful of the temperature of your pyrography pen. Use the right temperature for the type of wood you’re working on and the effect you want to achieve.
Type of wood
Choose a type of wood that is suitable for pyrography, such as basswood, willow, aspen, birch or pine.
Basswood is light in colour, readily available and has an unobtrusive grain pattern.
Whatever wood you choose make sure it’s smooth and free of any coatings.
Selecting a Pyrography Kit
My research has identified the following kits as best buys……
Best Overall Buy
 wood-Burning-Kit-300×275.png” alt=”” width=”300″ height=”275″/>
 wood-Burning-Kit.png?resize=300%2C275&ssl=1″ alt=”” width=”300″ height=”275″ srcset=”https://i0.wp.com/plans4creativewoodworking.com/wp-content/uploads/2022/02/Tekchic-wood-Burning-Kit.png?resize=300%2C275&ssl=1 300w, https://i0.wp.com/plans4creativewoodworking.com/wp-content/uploads/2022/02/Tekchic-wood-Burning-Kit.png?resize=150%2C138&ssl=1 150w, https://i0.wp.com/plans4creativewoodworking.com/wp-content/uploads/2022/02/Tekchic-wood-Burning-Kit.png?w=761&ssl=1 761w” sizes=”(max-width: 300px) 100vw, 300px”/>wood Burning Kit, TEKCHIC 60W wood Pyrography Pen Kit
20 Wire Nibs Tips, Temperature Adjustable wood Burning tool for Carving(Black, UK 3 Pin Plug)
Click on image for more details
Best for Beginners
 wood-Burning-Kit-1-300×275.png” alt=”” width=”300″ height=”275″/>
 wood-Burning-Kit-1.png?resize=300%2C275&ssl=1″ alt=”” width=”300″ height=”275″ srcset=”https://i0.wp.com/plans4creativewoodworking.com/wp-content/uploads/2022/02/Tekchic-wood-Burning-Kit-1.png?resize=300%2C275&ssl=1 300w, https://i0.wp.com/plans4creativewoodworking.com/wp-content/uploads/2022/02/Tekchic-wood-Burning-Kit-1.png?resize=150%2C138&ssl=1 150w, https://i0.wp.com/plans4creativewoodworking.com/wp-content/uploads/2022/02/Tekchic-wood-Burning-Kit-1.png?w=761&ssl=1 761w” sizes=”(max-width: 300px) 100vw, 300px”/>
Pyrography wood Burning tool Set, Pyrography wood Burning Pen wood Burner Machine Kit with Adjustable Temperature for wood-Burning Stencil-Cutting and Leather Embossing
Click on image for more details.
Best Budget Buy
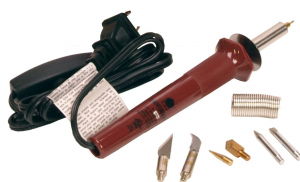
Walnut Hollow pyrography pen with variable heat control
Wire Nib burners are the Rolls Royce of wood burning pencils. Although they have several advantages for complex designs, which require delicate shading, they are much more expensive than the solid nib burner.
Pyrography Patterns
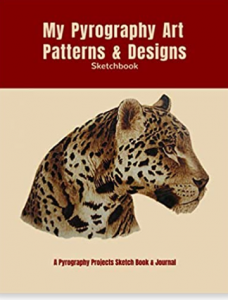
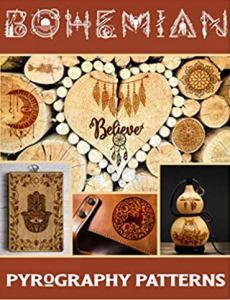
You can create your own patterns. or. if you are just starting out. it’s a good idea to buy a book which includes tutorials and patterns. Here are four books to choose from. Just click on the image for details of each book.
wood+burning+book+projects+and+patterns&qid=1646221162&sprefix=wood+burning+project%2Caps%2C70&sr=8-8″ class=”custom-link no-lightbox” title=”Pyography Patterns” aria-label=”” onclick=”event.stopPropagation()” target=”_self” rel=””>
Transferring Your Pattern To The wood
There are three main ways of transferring your pattern to the wood.
1. The Pencil Method
2. The Graphite Pencil Method
3. Heat Transfer Method
I have discovered an excellent article on this subject, which explains the methods far better than I can.
Choosing the Right Tips
The best way to learn the different effects you can achieve is by picking up your pen and trying out various tips.
Outline your design using an all purpose/universal tip. The same tip can be used for straight lines.
A calligraphy tip, as the name implies, is ideal for free flowing writing and curved lines.
An extra fine tip is used for detailed work, straight lines and tighter curves.
Adding Colour
You can enhance your design by adding colour using watercolour paints or watercolour crayons. inks or stains.
If you are just starting out you are best to start with watercolour crayons. Once you have applied the colour with a pencil, use a paintbrush with a little water to create a wash effect.
Always clean the paintbrush thoroughly before applying a different colour.
Sealing Your Work
Undoubtedly the best way to seal your work is applying polyurethane using an aerosol spray. Do not use a brush as it may make the colours run.
Pyrography In Action
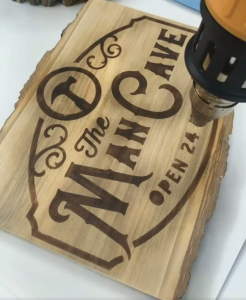
Be inspired by watching these pyrographers creating their artwork….
Pyrography Artwork
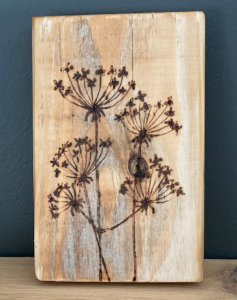
Some striking artwork from Etsy…..
Happy Burning! Happy Days!
