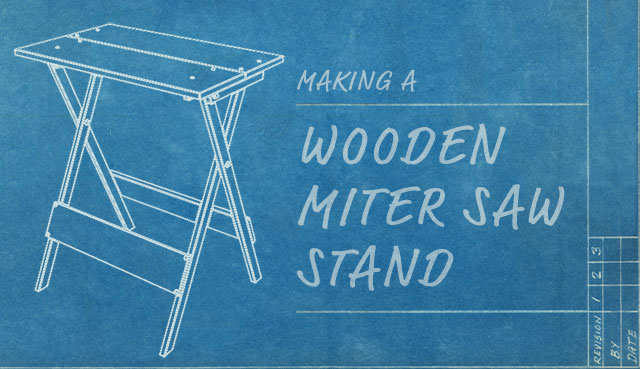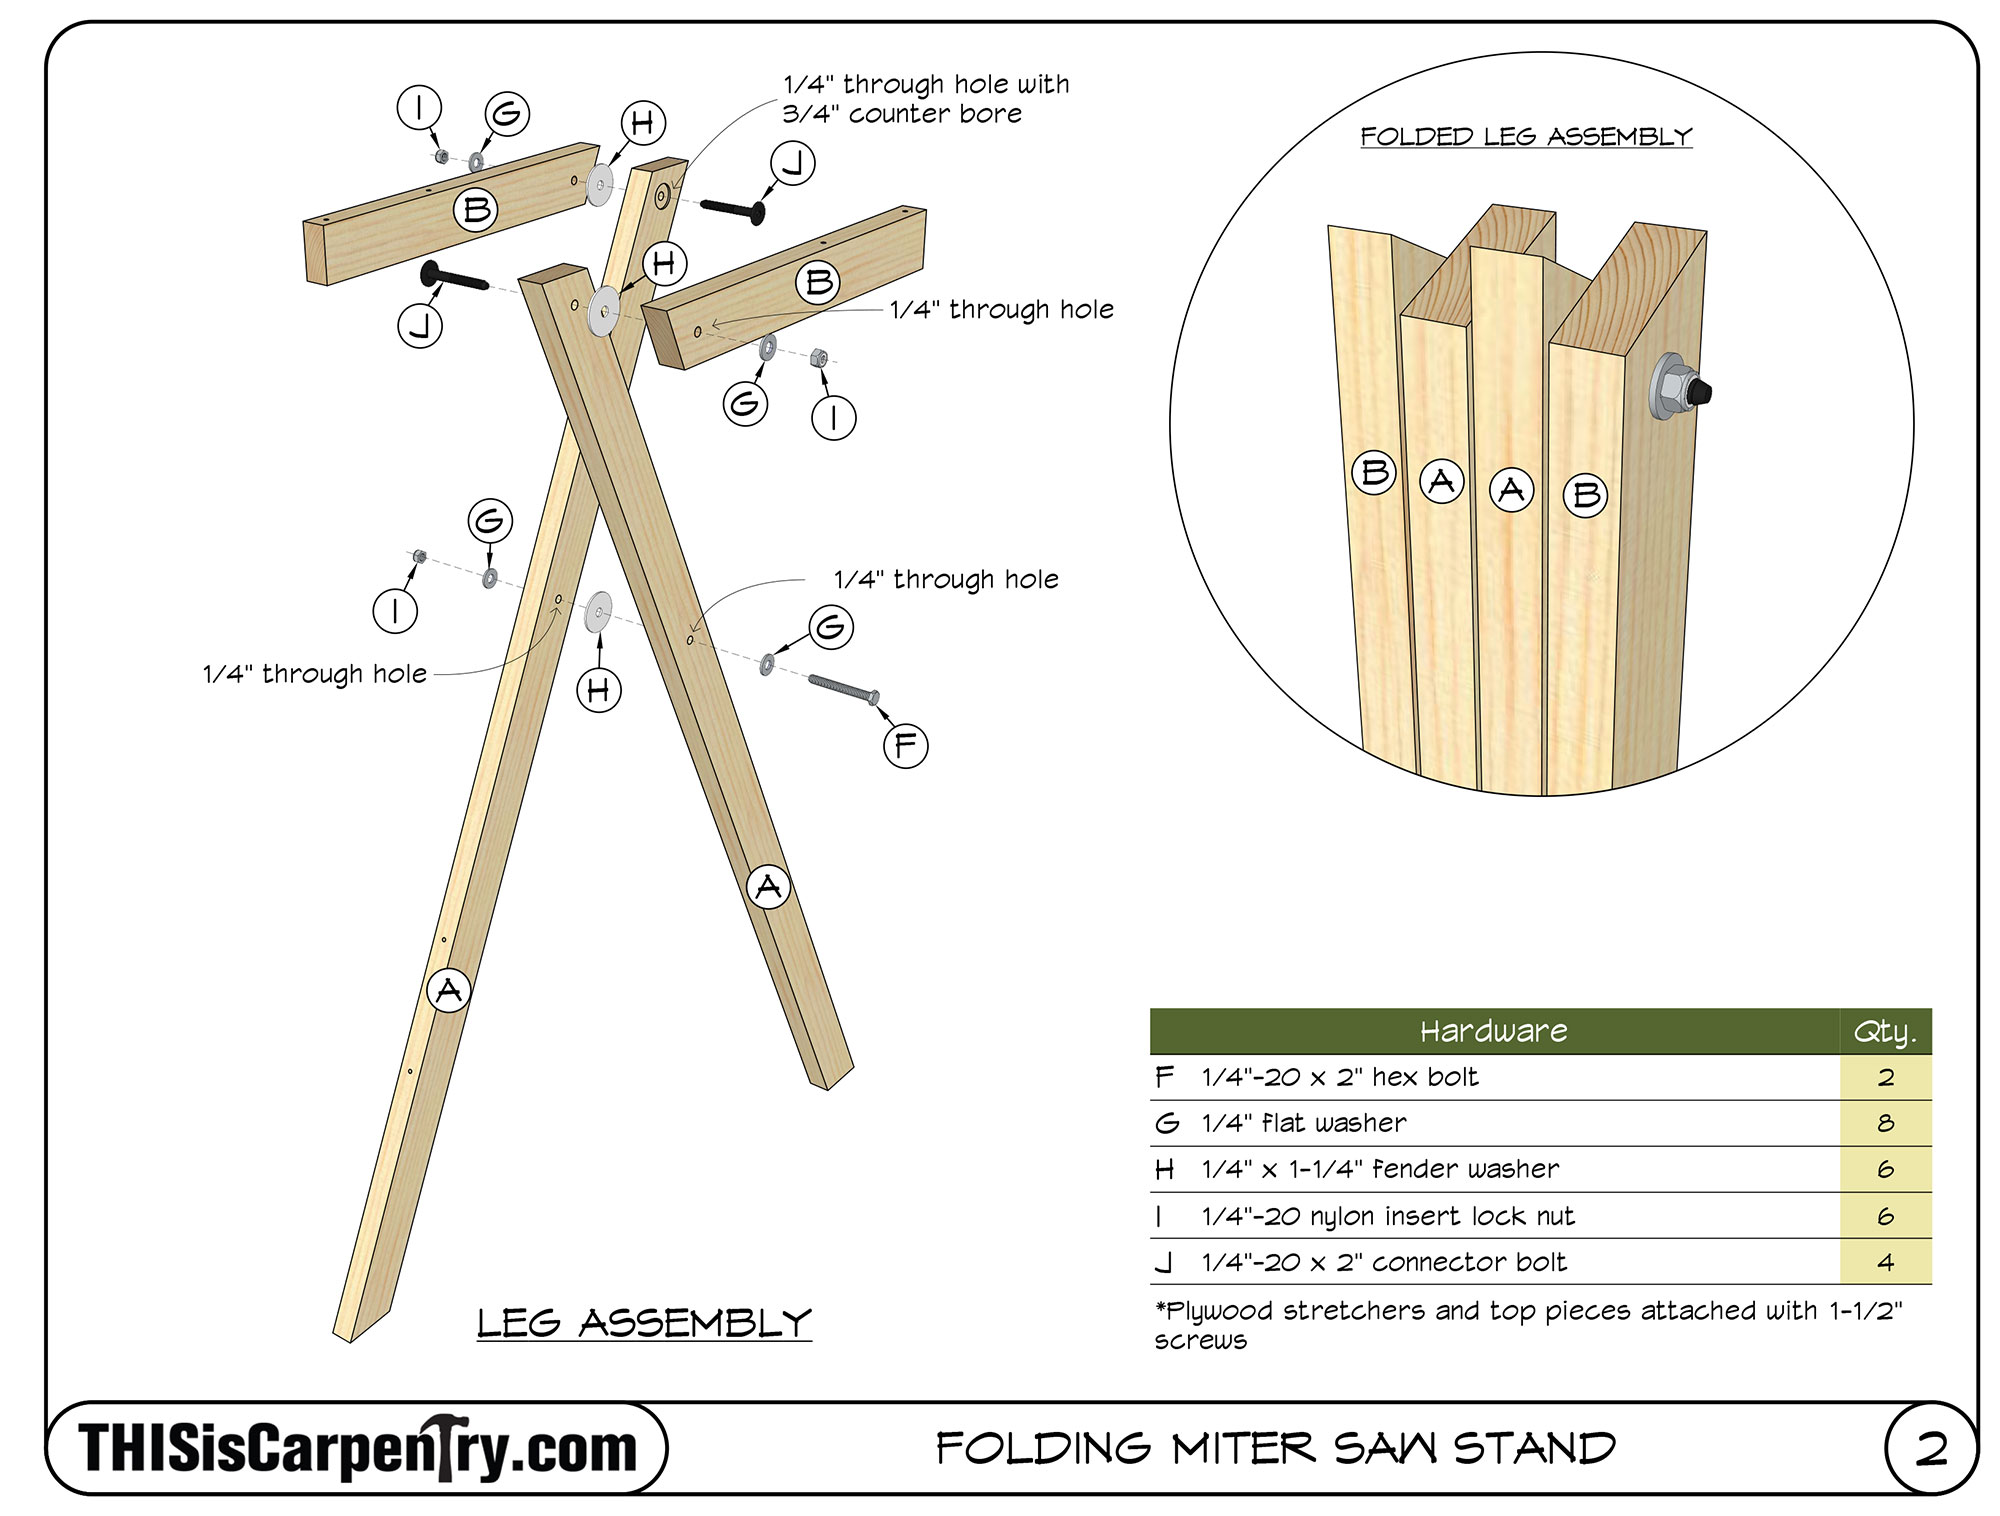

After watching the video and using the drawings included in this article, if you have trouble making a wooden miter saw stand….you probably shouldn’t be using a miter saw. 🙂
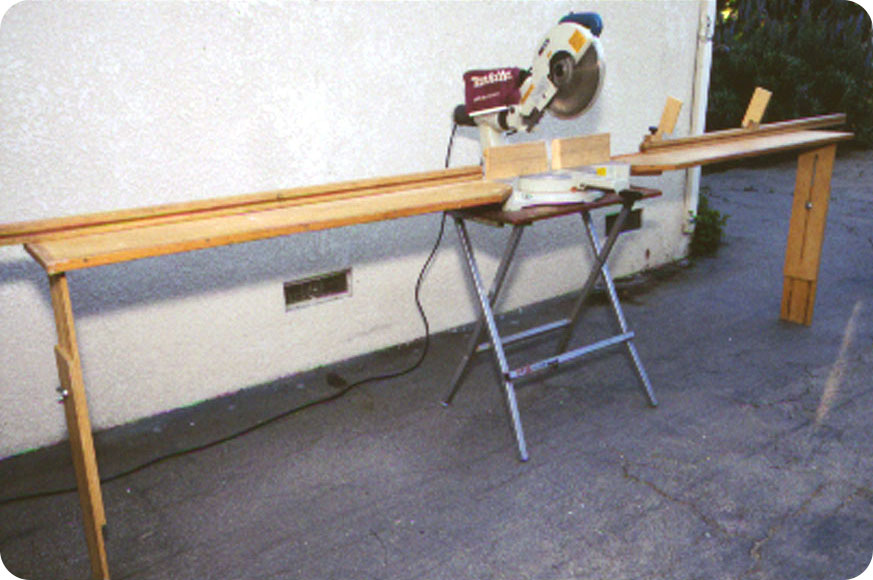
I’ve been using an old Ryobi miter saw stand for about thirty-five years. Yes it lasted THAT LONG! But Ryobi doesn’t make it anymore—maybe that’s why, it was indestructible. Before I found that stand, I lugged around the most awful things, beasts with two heads and four legs, some I loaded on my lumber racks and left outdoors in the rain. It wasn’t until I found the Ryobi stand that I could effortlessly set up my saw and extension wings quickly, and move my saw just as fast, either up or down a flight of stairs, or back out to my truck at the end of the long hard day.
I always wanted to make one entirely out of wood, a little like Lamar Horton did in his TiC article back in June 2010. But the Ryobi design impressed me most because the tops press together and that compression adds to the rigidity of the whole stand.
After studying the confusing design for years—especially the legs and strange top supports, I knew the project was going to be a challenge and planned on encountering a few hitches, after all, the thing unfolds like an origami sculpture. With perseverance, along with moral and graphic support from Todd Murdock, I managed to make three stands, but not one without some do-overs.
But you don’t have to worry about all those mistakes. I made them for you! Along the way, I learned a lot of lessons about this design. At first, I thought the measurements—the length of the legs, the location of the pivot point—were critical. But they are not. Rather, the five most critical elements are:
- The leg sets or pairs must mirror or oppose each other.
- The miters on the top supports must oppose the miters on the legs (all miters must oppose adjoining miters)
- The long stretcher is attached to the outer legs, and on the same edge as the long point at the bottom of the legs.
- The short stretcher is attached to the inner legs, and on the same edge as the long point at the bottom of the legs.
- The tops are attached to the top supports on the same edge as the long point of the miters. (If you layout the location of the stretchers and the tops by hooking your tape measure on the long point of the miters, you’ll be good!)
Here’s a video of the whole process.
And here’s a TiC Miter Saw Stand Plan, with dimensions and a material list!
For those of you who may want to build a stand with a custom height or width, or out of alternative material, we’ve also included the Sketchup drawing here for download or you can visit the SketchUp 3D Warehouse here, so you can alter any dimension you wish.


